Getting Started with Pearl Wax
Learn the basics of scented pearl wax, including what it is, how it works, and why it's becoming a popular choice for home fragrance.
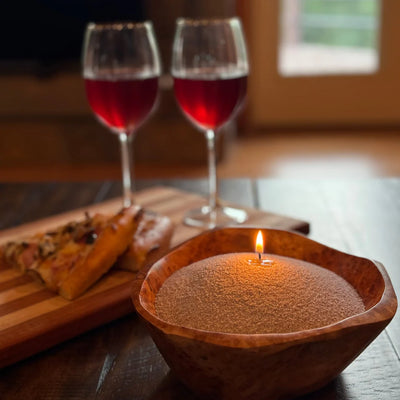
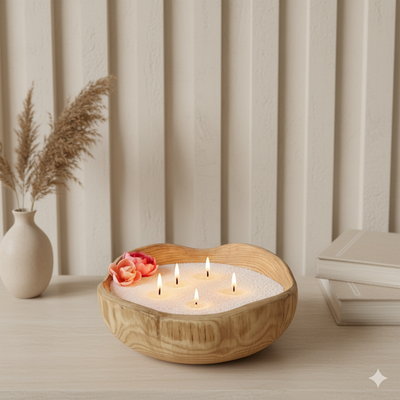
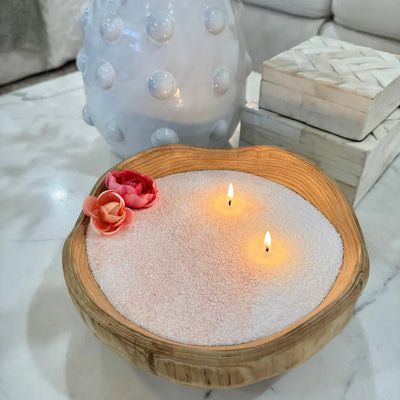
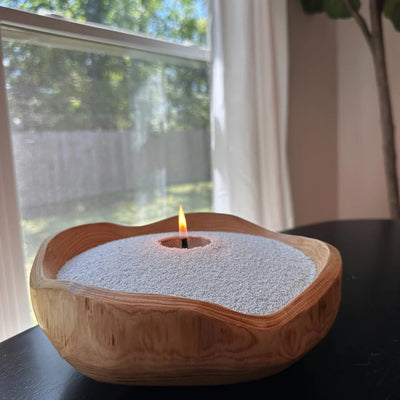
Discover our most popular products
See what our customers are saying about the Pearl Wax .

"Absolutely love my Candle from Novella! The quality is outstanding and the Aroma is very Calming ."

"I got a Pearl Wax Candle and I poured the tiny wax balls into my cup, then I lit it with a little string. it makes my room smell nice and sweet, like candy. I feel happy and it looks pretty too!"

"The attention to aroma and the smell is incredible. Every flame of It feels like a premium experience of different ."

"I like and feel very much better after using their candle and its been an Vibe changer"

"we loved buying candles from them and it feels so good when we light it up , and love how it is customizable and can pour it anywhere ."
Discover everything you need to know about scented pearl wax, from application techniques to care tips and creative uses.
Learn the basics of scented pearl wax, including what it is, how it works, and why it's becoming a popular choice for home fragrance.
Master the art of applying scented pearl wax with our step-by-step guide and professional tips for best results.
Explore our comprehensive guide to choosing the perfect scents for your space and personal preferences.
Keep your scented pearl wax in perfect condition with our care tips and maintenance recommendations.